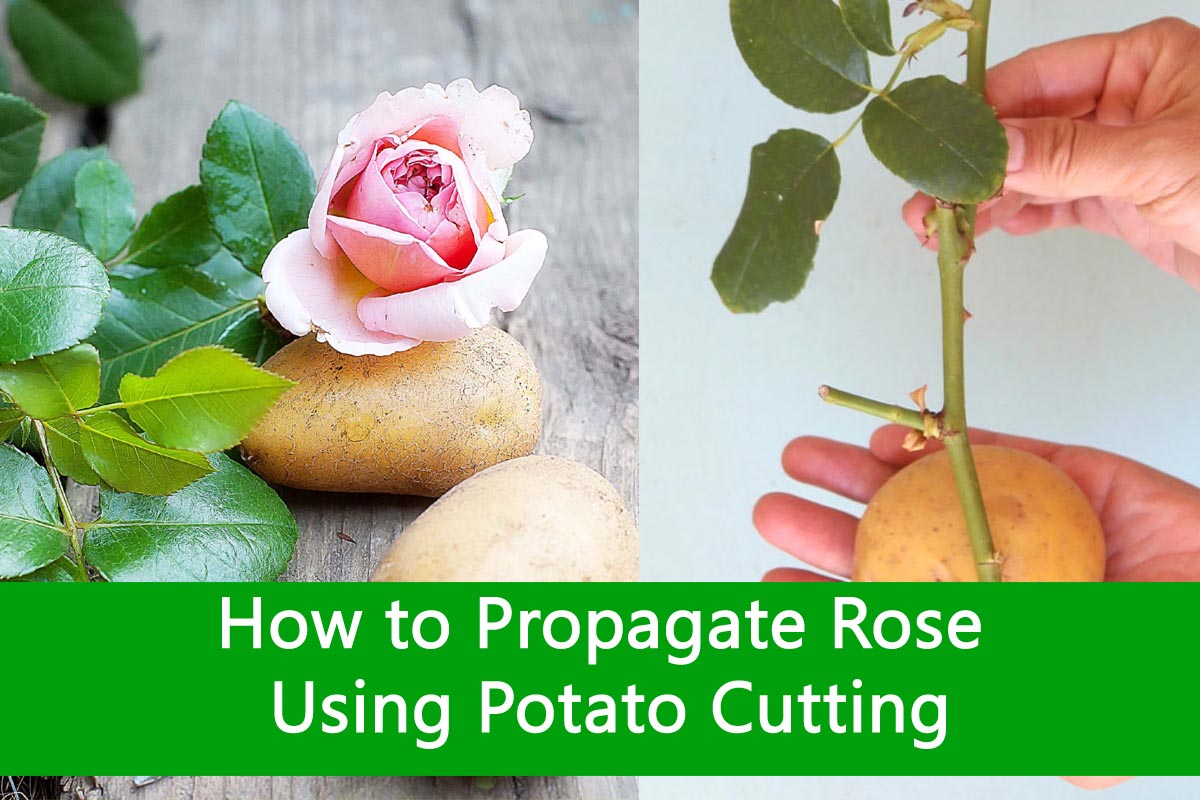
How to Propagate Roses Using Potato Cuttings
Propagating roses can be a rewarding and cost-effective way to expand your garden without purchasing new plants. While there are several methods for propagating roses, one of the most unusual and intriguing approaches is to use potato cuttings. In this blog, we’ll guide you through the steps to propagate roses using potato cuttings successfully.
Why Use Potato Cuttings?
Potatoes may seem like an unlikely ally in rose propagation, but they offer a simple and effective solution. Potatoes provide a moist and protective environment for rose cuttings, enabling them to develop roots. The high moisture content in potatoes helps maintain a humid microclimate around the cuttings, enhancing their chances of rooting successfully.
Also Read This : Easy way to Propagate Roses from Cuttings
Materials You’ll Need:
Before we dive into the step-by-step process, gather the following materials:
Healthy Rose Cuttings:
Choose 6-8 inches (15-20 cm) long cuttings from healthy rose plants. These cuttings should include a section of the stem with a leaf bud.
Potatoes:
You’ll need medium-sized potatoes. One potato can be used to propagate multiple rose cuttings.
Garden Pruners:
To make clean and precise cuts.
Also Read This : Fascinating Plant Fun Facts
Planting Pots:
Small pots filled with potting soil.
Potting Soil:
A well-draining potting mix is essential for the success of your rose cuttings.
Rooting Hormone (optional):
While not necessary, a rooting hormone can increase the chances of successful rooting.
Plastic Wrap or Plastic Bag:
To create a humid environment for your cuttings.
Also Read This : Enhance Your Gardening with Grow Bags
Propagate Roses Using Potato Cuttings
Step 1: Preparing the Rose Cuttings
- Using sharp garden pruners, take 6-8 inches (15-20 cm) long cuttings from a healthy rose plant. Cut just below a leaf bud at a 45-degree angle.
- Remove any leaves from the lower part of the cutting, leaving only a few leaves at the top.
- If you prefer, you can dip the cut end of the stem in rooting hormone to encourage root growth.
Step 2: Preparing the Potatoes
- Cut the potato into small cubes, each roughly 1 inch (2.5 cm) in size.
- Make a hole in each potato cube with a pencil or tool.
Also Read This : Utilizing Grow Lights for Indoor Plant Cultivation
Step 3: Inserting Cuttings into Potatoes
- Insert the cut end of each rose cutting into a prepared potato cube. The potato will hold the cutting in place.
Step 4: Potting the Cuttings
- Fill small pots with well-draining potting soil.
- Plant the potato-encased rose cuttings in the pots, burying them about 2 inches (5 cm) deep.
Step 5: Creating a Humid Environment
- Cover the pots with plastic wrap or place them inside a plastic bag to create a humid environment. Make sure the plastic doesn’t touch the leaves.
Also Read This : How to Prune Lavender: A Step-by-Step Guide
Step 6: Providing Adequate Light
- Place the pots in a location with bright, indirect light. Avoid direct sunlight, as it can scorch the cuttings.
Step 7: Caring for Your Cuttings
- Keep the soil consistently moist but not soggy. Ensure the humidity inside the plastic wrap or bag is maintained.
- After a few weeks, your rose cuttings should begin to develop roots.
Also Read This : Seasonal Planting: What to Plant in October for Success
Step 8: Transplanting
- Once the cuttings have established roots, usually after a few months, you can transplant them into your garden or larger pots.
Propagating roses using potato cuttings is a unique and fun method that can yield impressive results. You can grow plants from your favourite varieties with patience and care. Enjoy nurturing these cuttings and watching them transform into beautiful, blooming roses in your garden. Happy gardening!
Also Read This : How to Start Your Perennial Vegetable Garden
Best Time to propagate rose using potato cuttings
The best time to propagate roses using potato cuttings is typically in late spring or early summer. This period provides the optimal conditions for the development of healthy roots. Here are some key points to consider:
Timing:
It’s essential to choose a time when your seasonal roses are actively growing and not in a dormant state. Late spring and early summer are ideal for many rose varieties because they are in their growth phase.
Temperature:
Warmer temperatures promote root development, making the late spring and early summer the most suitable time for this propagation method.
Also Read This : Ants in Your Planters? Try These Quick and Effective Solutions!
Daylight:
Longer daylight hours during these months provide the necessary light for propagation.
Climate:
Consider your local climate and frost dates to ensure your rose cuttings have the best chance of success. Avoid extreme heat or cold.
Also Read This : How to Identify and Control Pests on Cacti
Propagating your seasonal roses during the late spring or early summer increases the likelihood of successful root development and healthy new plants.


