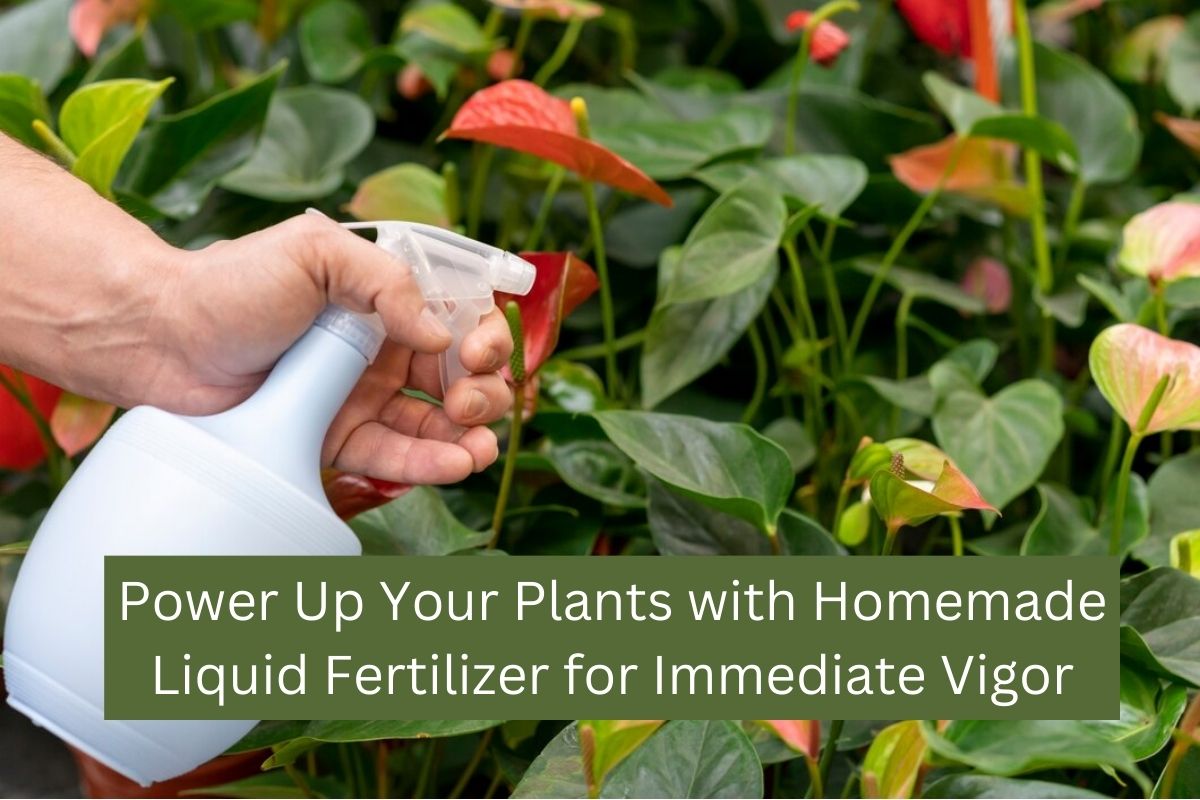
Power Up Your Plants with Homemade Liquid Fertilizer for Immediate Vigor
If you’re an avid gardener, you already know that a little extra TLC can go a long way in keeping your plants happy and healthy. One way to achieve that is by giving them the nutrients they need to thrive. Commercial fertilisers can get the job done, but why not take a more eco-friendly and budget-conscious approach with homemade liquid fertilisers that provide instant strength to your plants? In this blog, we’ll explore how to create these nourishing elixirs and unleash their magic on your green companions.
What is Liquid Fertilizer?
Liquid fertiliser, as the name suggests, is a type of fertiliser that is in liquid form. It provides essential nutrients to plants to promote their growth and development. Liquid fertilisers are made by dissolving or suspending nutrient-rich compounds in water, creating a concentrated liquid solution that can be easily applied to plants through various methods, including spraying, watering, or drenching the soil.
Also Read This : Gardening with Good Fortune: 15 Auspicious Plants for Your Garden
These fertilisers typically contain a combination of essential plant nutrients such as nitrogen (N), phosphorus (P), and potassium (K), along with various secondary and micronutrients like calcium, magnesium, sulfur, iron, and others. The nutrient content and ratio in liquid fertilisers can vary depending on the specific product and the needs of the plants being cultivated.
Liquid fertilisers offer several advantages, including:
Quick Nutrient Uptake: Liquid fertilisers are readily available to plant roots, allowing for rapid nutrient absorption and an immediate boost in growth.
Ease of Application: They can be applied through various irrigation systems, including drip systems, sprayers, and watering cans, making them versatile for different crops and gardening methods.
Also Read This : Rapidly Growing Shrubs and Hedges for Enhanced Privacy
Precise Nutrient Control: Liquid fertilisers are easy to mix and adjust, so you can tailor the nutrient composition to meet the specific requirements of your plants.
Reduced Risk of Overfertilisation: With careful application and dilution, there is less risk of overfertilising and damaging plants.
Foliar Feeding: Liquid fertilisers can also be sprayed directly onto plant leaves, providing a quick nutrient boost through foliar uptake.
Liquid fertilisers can be synthetic or organic, depending on the source of the nutrients used. Synthetic liquid fertilisers are typically made from chemically derived compounds, while organic liquid fertilisers are derived from natural sources such as compost, manure, or fish emulsion.
Also Read This : Rapid-Growing Hedge Options for Australian Gardens
The Benefits of Homemade Liquid Fertilizers
Before we dive into the recipes, let’s take a moment to understand why homemade liquid fertilisers are worth the effort. There are several compelling reasons:
Cost-Efficient
Making your fertilisers can save you money compared to buying expensive commercial products.
Eco-Friendly
You control the ingredients to minimise or eliminate harmful chemicals and reduce your environmental impact.
Also Read This : Growing Aparajita from Cuttings and Seeds: A Step-by-Step Guide
Immediate Nutrient Availability
Plant roots can absorb Liquid fertilisers more quickly, providing a fast nutrient boost.
Customisable Formulas
You can tailor the mixture to suit the specific needs of your plants.
Also Read This : No Sun, No Problem: Low-Light Plant Varieties
Recipe 1: All-Purpose Liquid Fertilizer
Ingredients:
- 1 gallon (3.8 litres) of water
- One tablespoon of Epsom salt
- One tablespoon of baking soda
- One tablespoon of powdered eggshells (for calcium)
Instructions:
- Mix all the ingredients in a large container until everything dissolves.
- Use this mixture to water your plants once a month or as needed.
Also Read This : 10 Ways Plants Enhance Your Yoga Practice
Recipe 2: Compost Tea Fertiliser
Ingredients:
- A bucket of compost (about 5 gallons)
- Water
Instructions:
- Fill a bucket with compost and add water until it covers the compost completely.
- Allow it to steep for a few days or up to a week, stirring occasionally.
- Strain the liquid, dilute it with water (1:10 ratio), and use it to water your plants.
Also Read This : 2 Method to Grow Ginger (Adrak) at Home
Recipe 3: Banana Peel Fertilizer
Ingredients:
- 2-3 banana peels
- Water
Instructions:
- Chop the banana peels into small pieces.
- Place the banana peels in a container and cover them with water.
- Allow the mixture to sit for a few days to a week.
- Dilute the liquid (1:5 ratio) to water your plants.
Also Read This : Growing Garlic in Your Home Garden: A Step-By-Step Guide
Recipe 4: Fish Emulsion Fertilizer
Ingredients:
- 1 cup of fish scraps (fish heads, guts, or any leftover parts)
- 1 gallon of water
Instructions:
- Place the fish scraps in a bucket or container and add water.
- Let the mixture ferment for a few weeks, stirring occasionally.
- Strain the liquid and dilute it (1:3 ratio) with water before using it to water your plants.
Also Read This : What are the Best Ways to Revive a Dying Hibiscus?
Application Tips
- Apply liquid fertilisers early in the morning or late evening to prevent scorching the plants in strong sunlight.
- Avoid over-fertilisation, as this can harm your plants. Follow the recommended dilution ratios and frequency.
- Experiment with different recipes to see which works best for your specific plants and their needs.
These homemade liquid fertilisers give your plants a quick nutrient boost, resulting in immediate vigour and vitality. Plus, you’ll enjoy the satisfaction of knowing you’re taking a greener approach to gardening. So, roll up your sleeves, grab your ingredients, and start nourishing your plants naturally today. Your garden will thank you with lush, vibrant growth!
Also Read This : Protect Your Pooch: A Comprehensive Guide to Poisonous Plants for Dogs


